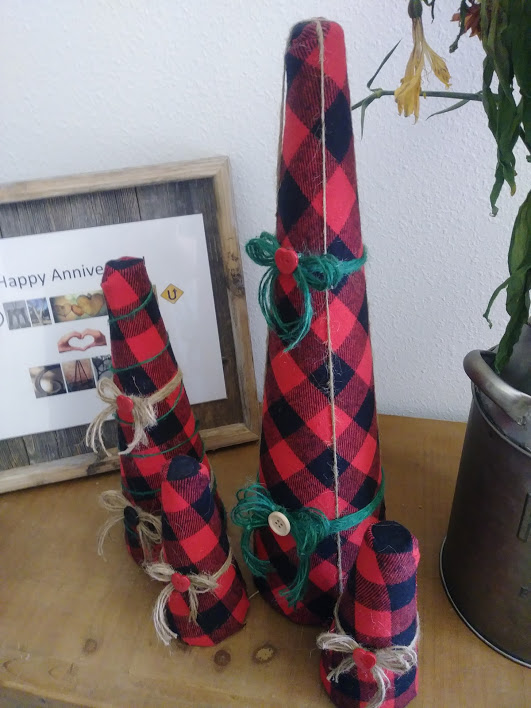
So I was in hobby Lobby during the weekend and i noticed the cute little Buffalo Check Trees Everywhere, then I saw the price and decided to try and make my own..
What I Used for Supplies:
- I bought 3 sizes of foam cones: 1 large 1 medium and 2 small
- 1 yard of Red Buffalo Check Material
- I used Scissors, Twine, Buttons and Hot Glue..
Note Of Warning:
Remember I am pretty terrible at crafting, I don’t use measurements, I never remember to write anything down as i decide to make something new, I pretty much do everything on the fly and I forget to take pictures all the time… So if you need exact measurements etc, I can’t help you and I’m so so sorry – I’m that guy!! or girl rather… lol…
How I did It:
- I measured the size of each cone onto the Buffalo Check Material, laying them on their sides ( so measure top to bottom leaving excess on both ends,) and then using a fabric pencil, mark out the area to cut – the piece of material should be large enough to roll the cone so its completely covered and it should look like a rounded bottom triangle.
- I cut each piece of fabric for each sized cone then simply hot glued the first edge of the fabric onto the cone then rolled the fabric tightly onto the cone until the seams meet, then hot glue down that side at the seam and trim off excess..
- I then trimmed the bottom and hot glued any excess pieces down evenly..
- I then cut circles on the buffalo check material using the foam cone bases as a guide for sizing..
- I then hot glued the material onto the bottom of the cones to cover them and make then sit nicely.
- I then folded the top down onto the cone and hot glued it and cut off any excess material.
- I decided to decorate my cones a little more and added twine in various ways with buttons for a rustic and Christmassy effect..
And here are my finished Christmas Tree cones, I love them and will probably do more in the grey check, black and white check or burlap next year…
Enjoy and Happy Crafting 🙂

Originally Posted On my Old Blog December 2019
