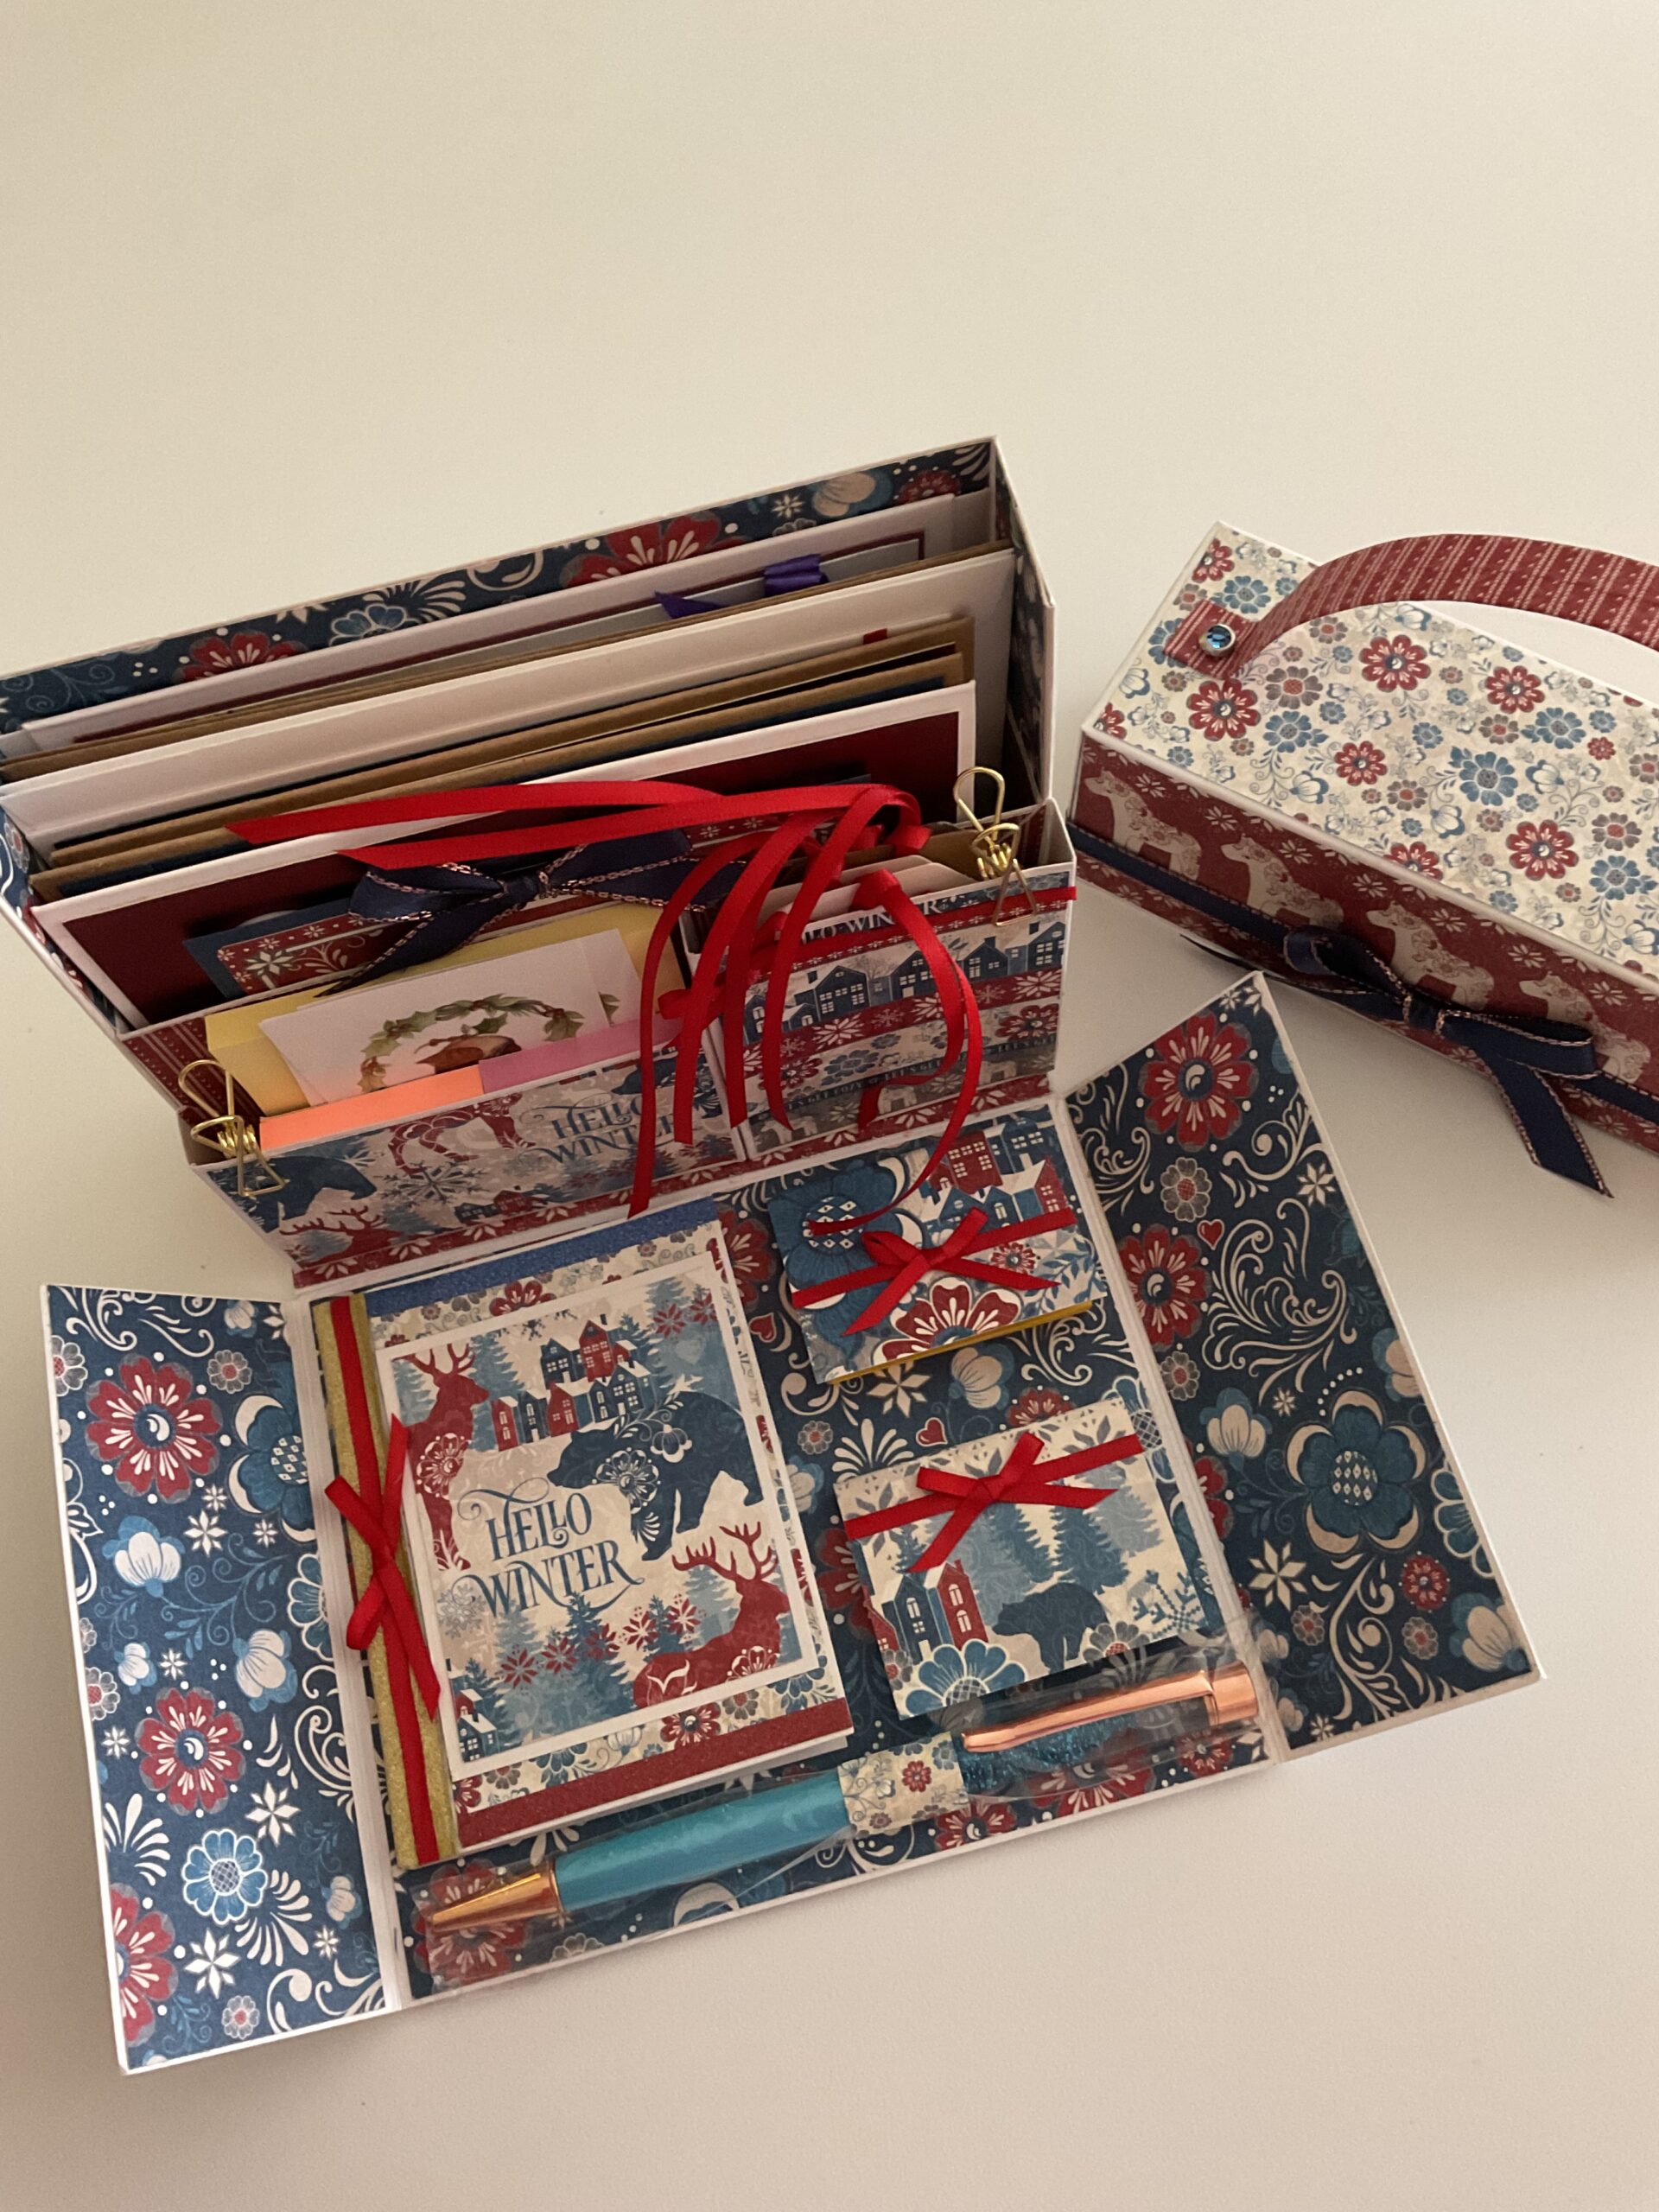
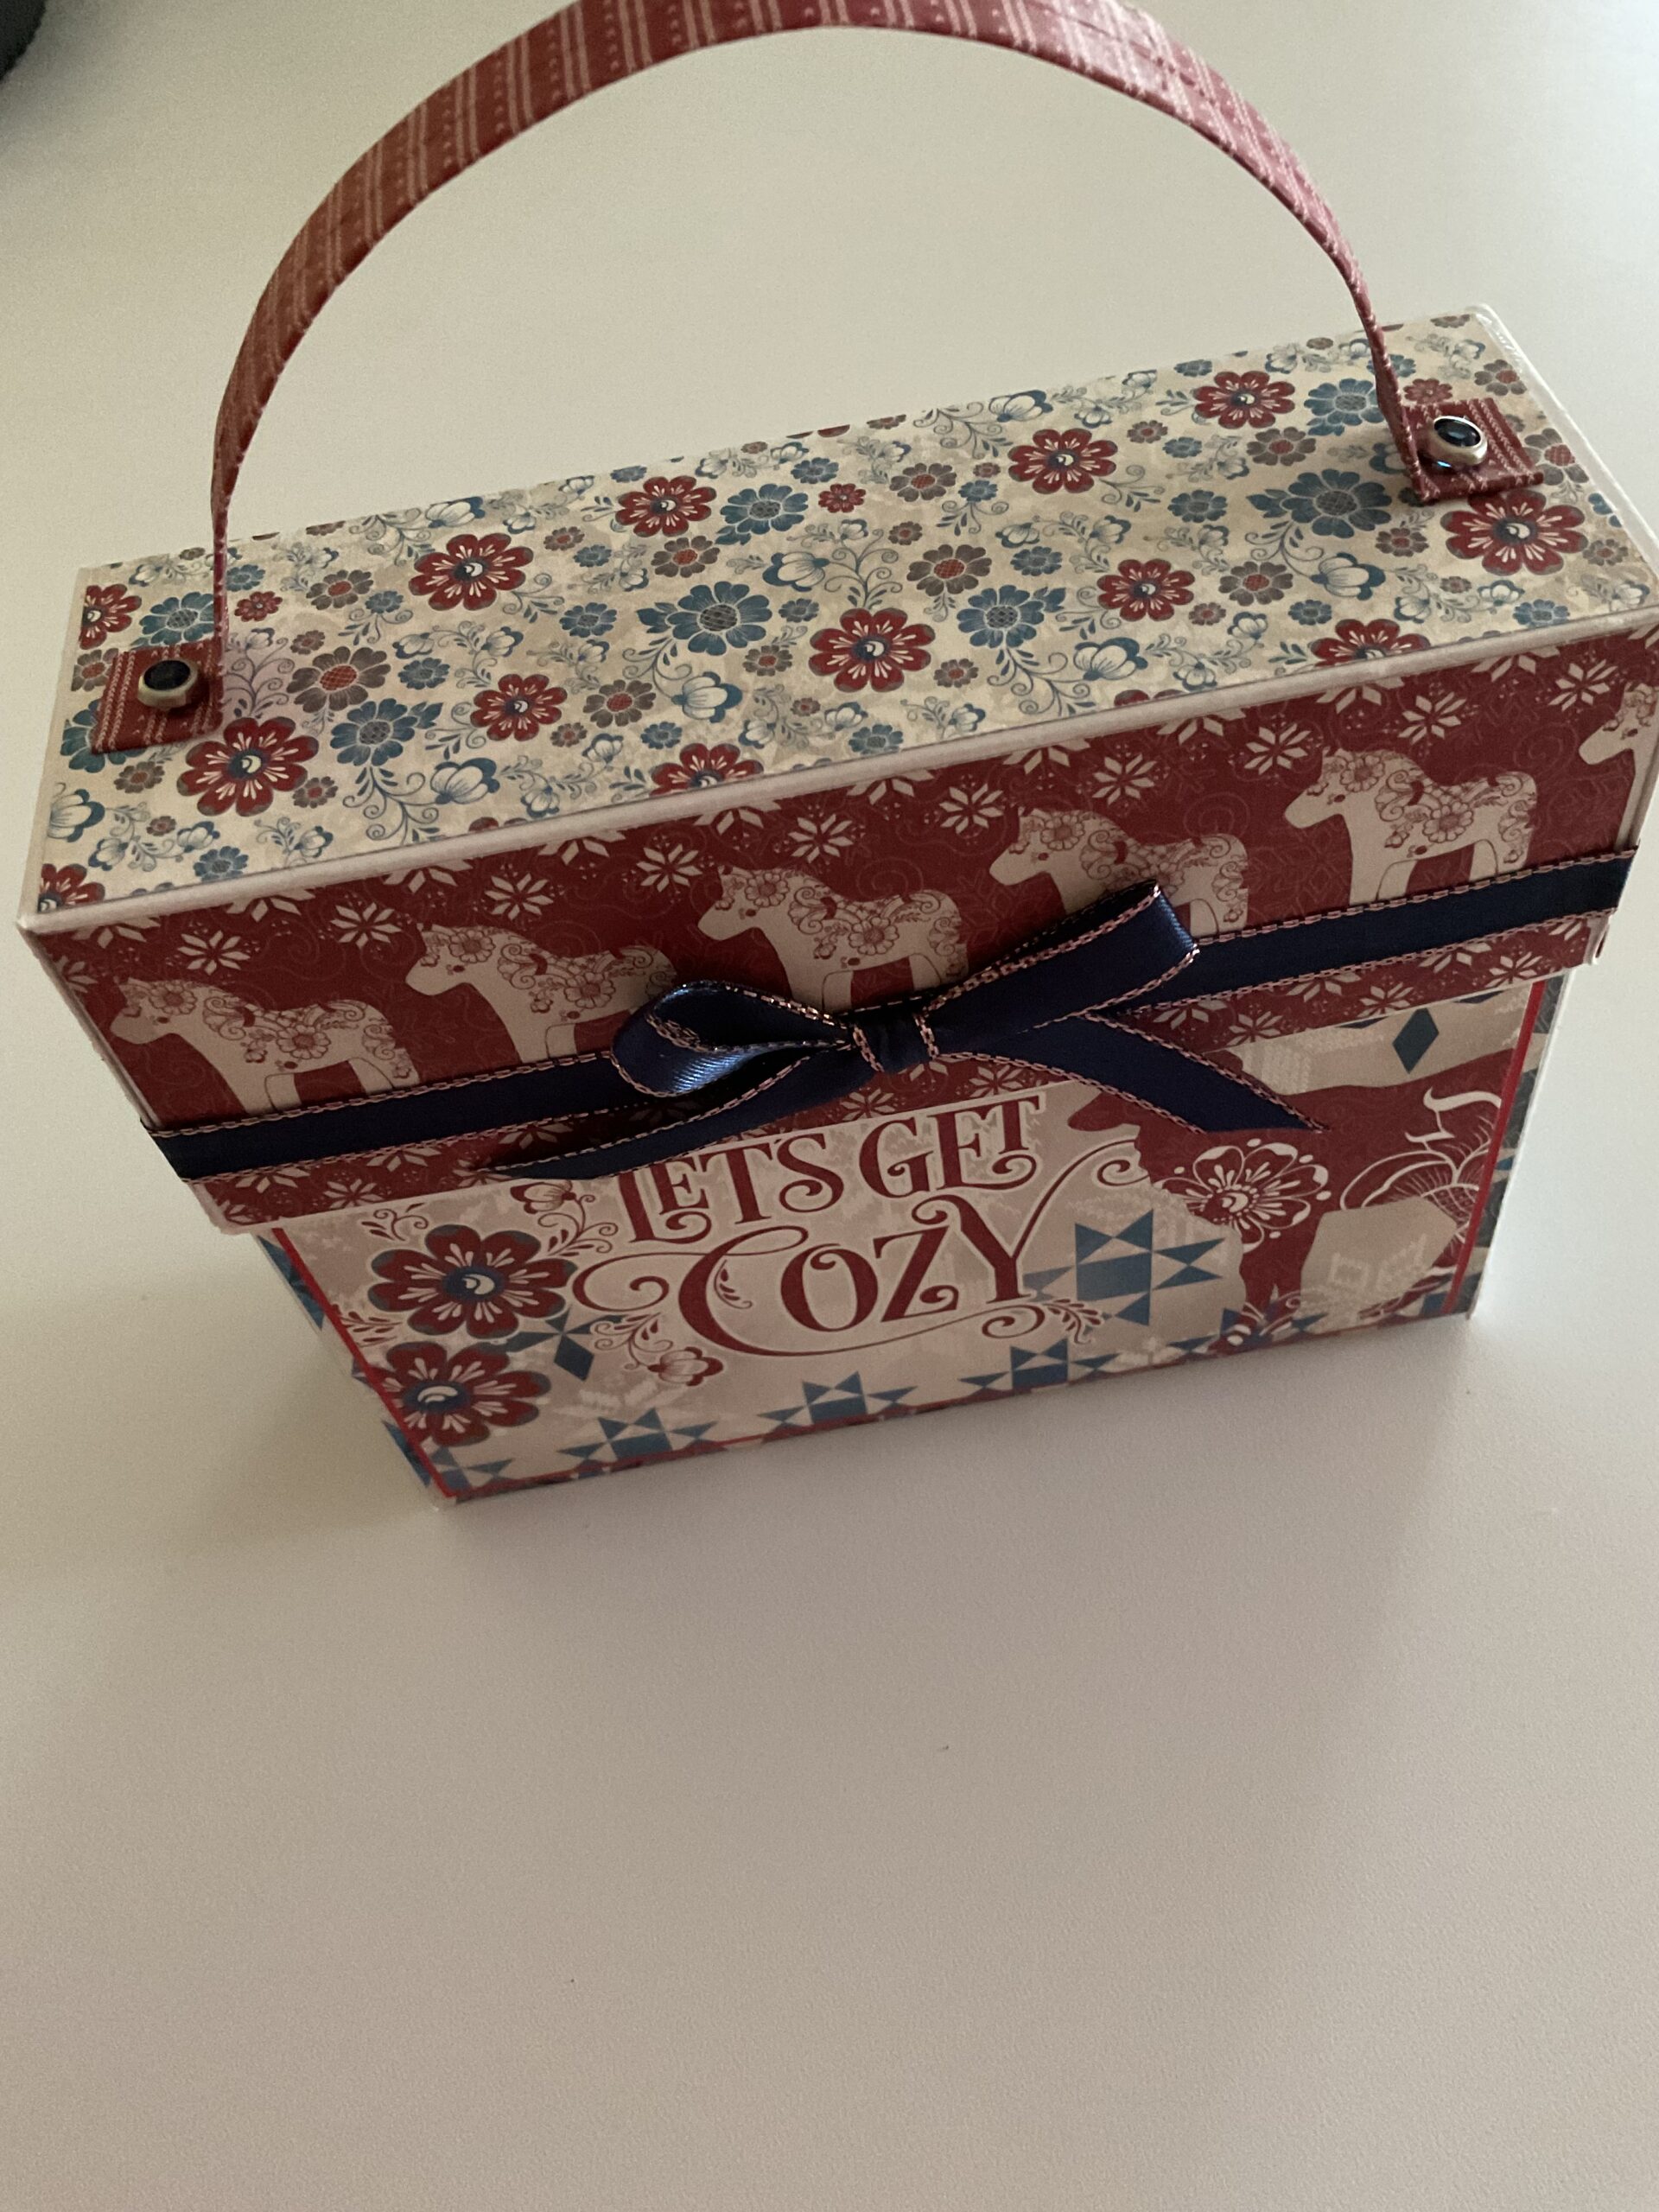
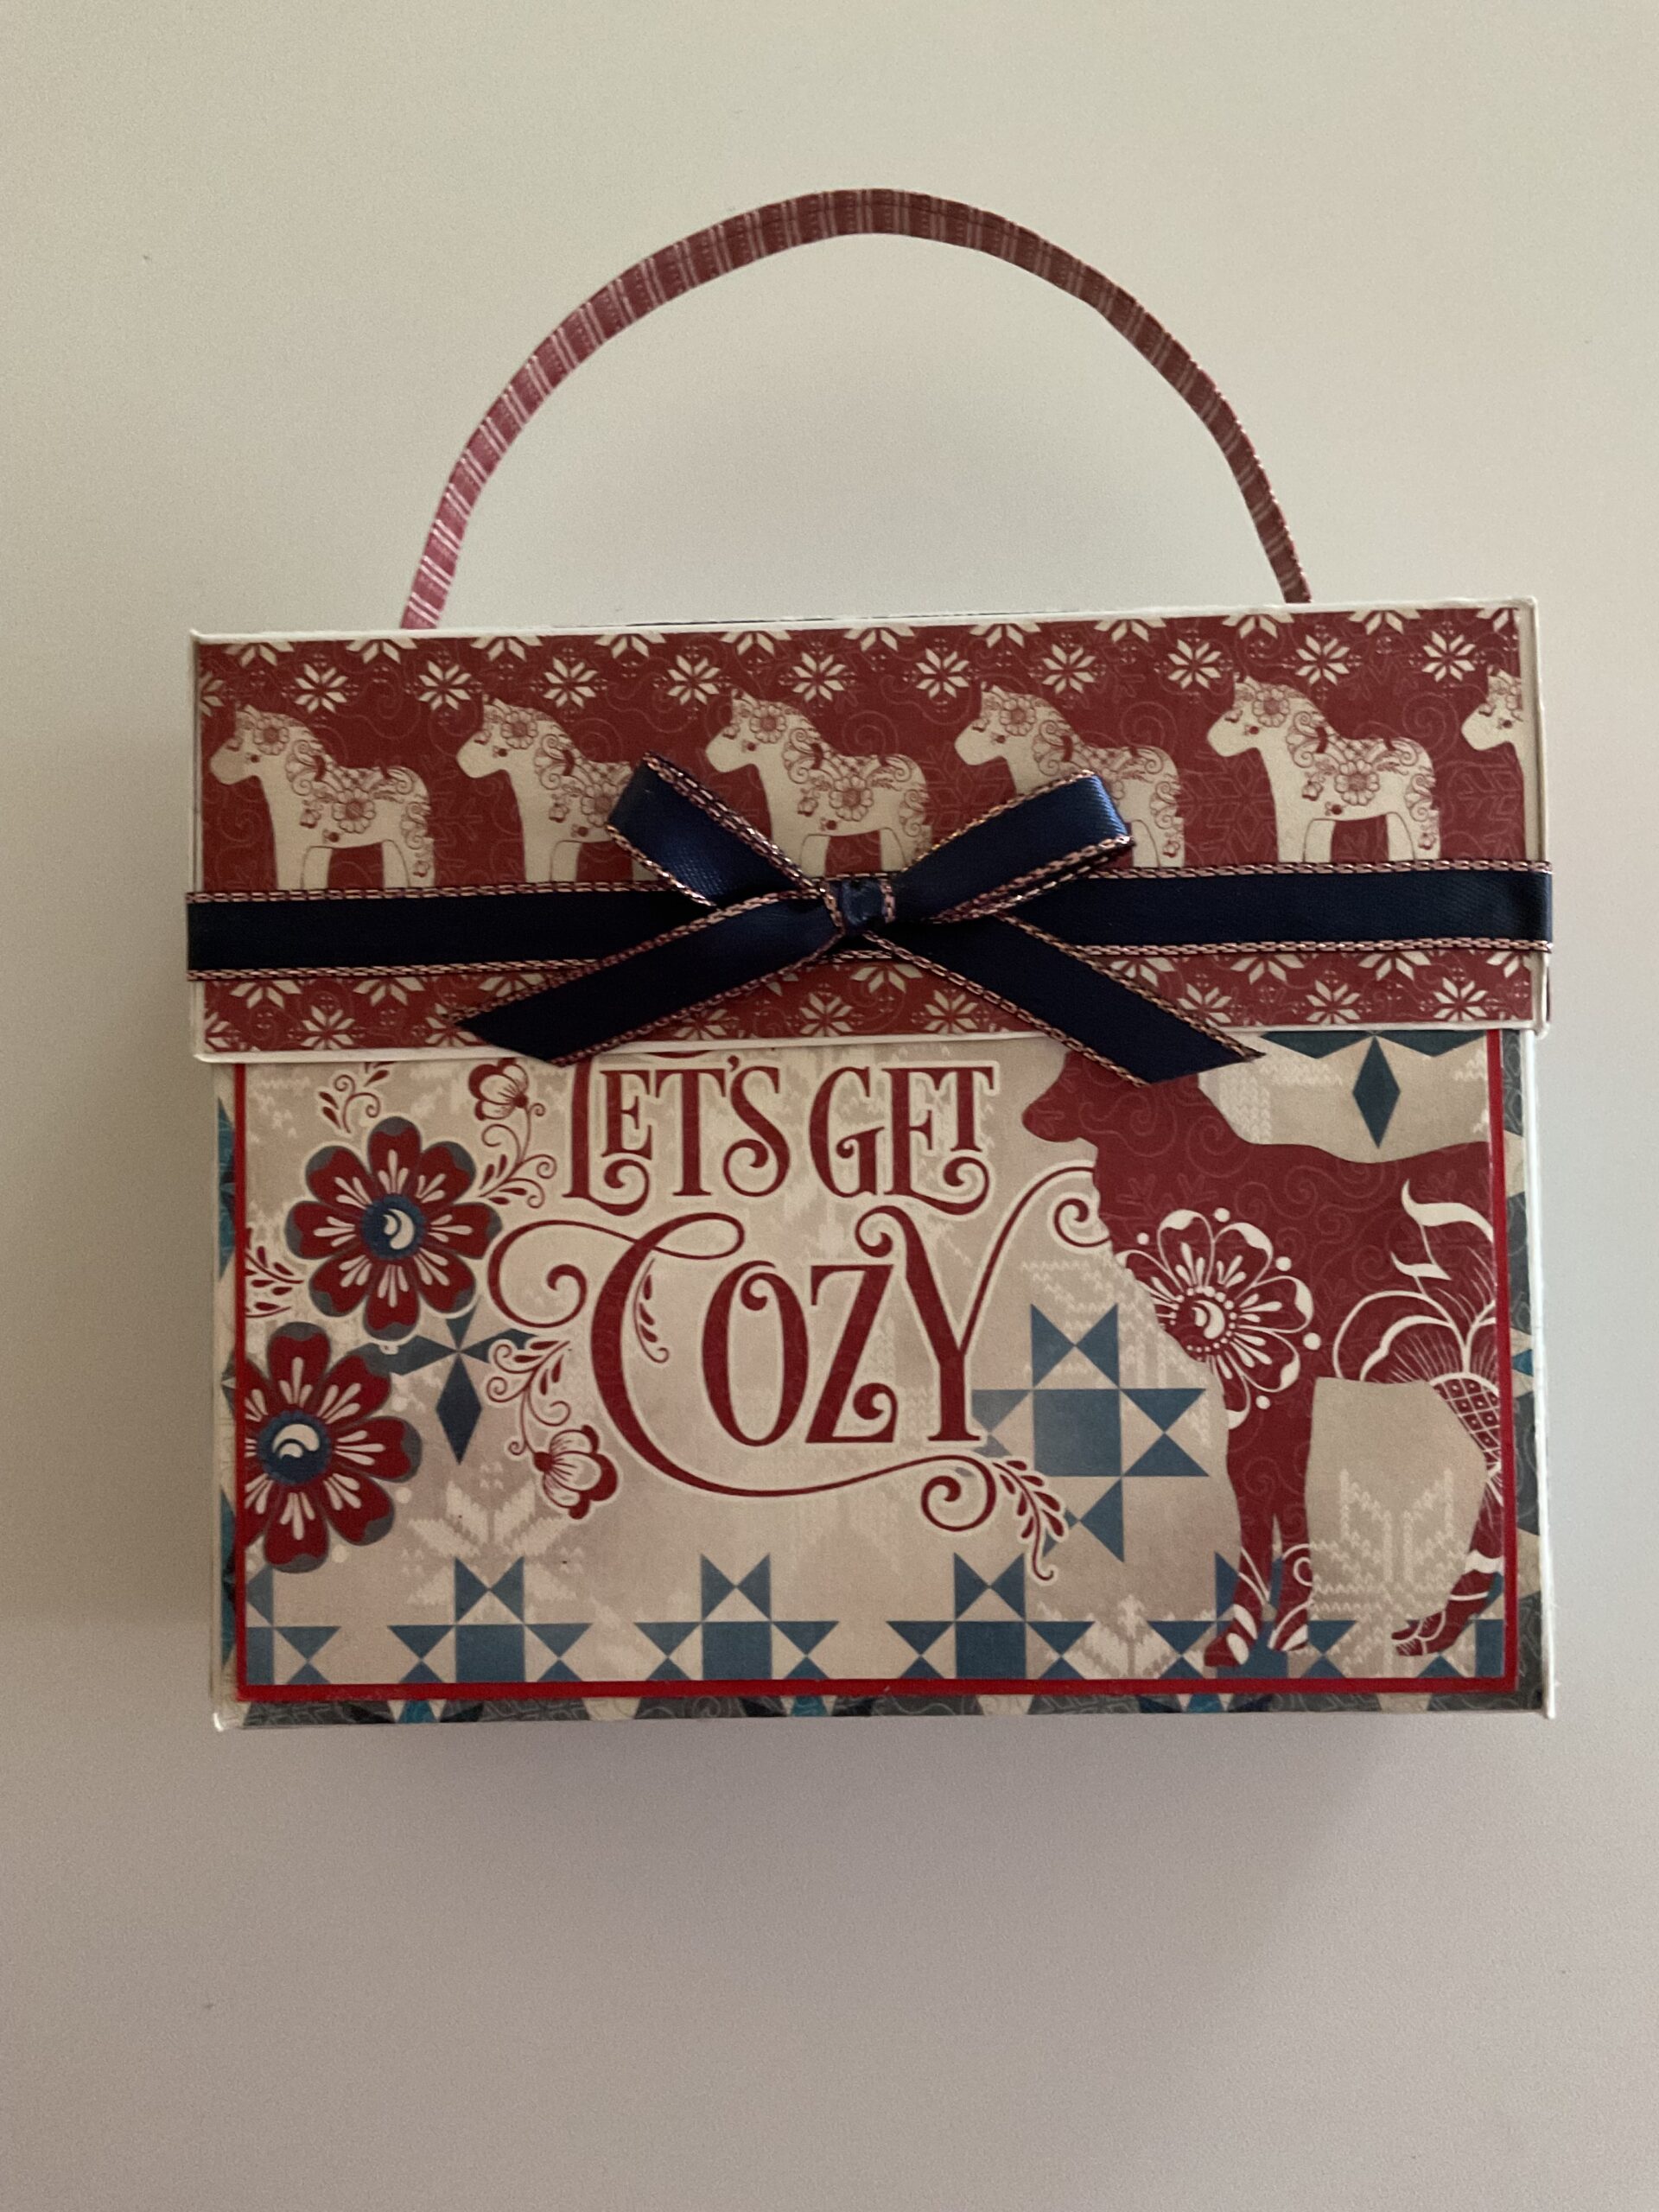
This card boxed set is perfect for anytime of year and a very thoughtful and very easy gift to make. Everything remains intact, until the lid is removed and the box folds out flat with the storage section standing upright, The handle is optional.
I chose to use Graphic 45 Cozy Winter Paper Collection, Journaling Cards and some random stickers from Carta Bella and Echo Park Christmas Collections that I had left over from last year(2022).
I am certain Christmas Salutations and Farmhouse Christmas were part of those left overs.
The 6.5 x 5.5(completed size) box base itself is made with Photo Framing White Card Stock 11 x 13 – Available at Amazon – Cut and Scored To Measurements
Backing and Matt Card Stock, On Cards, Box, Tags, etc is all “Tonic Studio” – Craft Perfect Classic Textured Card Stock, “Tonic Studio” – Craft Perfect Glossy, Matte, Mirror Card.
Ribbons – “Offray” double sided Christmas 3mm Red Ribbon and “Stampin’ Up” Blue and Rose Gold Metallic 9mm Ribbon
“Bearly Arts” Precision Glue, “Elizabeth Crafts” Double Sided Tape 1/4”
Brads – The Paper Studio, Clips – Spellbinders, Tag Bases – SSS, Sticky Notes – Mr Pen, Printer Paper – Staples, Rose Gold & Glitter Blue Ball Point Pen – Amazon, Label Sheets – Avery,
::Measurements::
100lb or Heavier Cardstock – 270gsm or Heavier.
Main Base – 10” x 12” Score on 12” Side @ 5” and 7” ~*~ Score on 10” Side @ 3/4” and 9 1/4” but only score these until you meet the first score line, then also score @ 2” and 8” but all the way to the bottom of the Cardstock.
Lid – 10 1/8” x 6 1/8” Score on 6 1/8” side @ 2” and 4 1/8” ~*~ Score on 10 1/8” side @ 2” and 8 1/8”
Main Storage Pocket – Fits A2 or A6 Cards. – 8 1/2” x 4 1/4” – On 8” side Score @ 4 1/4” and 8 1/4” ~*~ On 4” side Score @ 3” – Fold & Burnish into a boxed bottom: open top, pocket – Attaches to Base And Top Small Side Panels. Holds up to 6 Layered Cards and Envelopes or 8 Layered Cards or 8 Flat Cards and Envelopes.
Small Pocket #1 – 3 1/2” x 4 1/2” – Score on 4” side @ 1/2”, 1”, 3 1/2” and 4” ~*~ Score on 3” side @ 1/2” – Fold Into 1/2 Box Bottom: Open Top Pocket – Attaches to Front of Largest Pocket and Box Base. Fits 2 1/4” x 1 1/2” Tags – Holds 4 to 6 Tags
Small Pocket #2 – 2 1/2” x 5 1/2” – Score on 5” side @ 1/2”, 1”, 4 1/2” and 5” ~*~ Score on 2” side @ 1/2” Fold Into 1/2 Box Bottom: Open Top Pocket – Attaches to Front of Largest Pocket and Box Base. Fits 3” x 3” Cards, Post Its etc… Holds 4- 3×3 Cards and Envelopes or 3- 3×3 Layered Cards, or Holds 1- 50 page 3”x3” Sticky Notes with 2- 1 1/2”x 2” 50 Page Sticky Notes.
Book and Book Cover – measure paper at 8 1/4” x 4 3/4 – on 8” side score @ 4 1/4” and 4” – cut printer pages slightly smaller, I measured mine 7 8/16” by 4 1/2” and folded in half on the 7 8/16 side, stapled them together and glued them into the cover. Final size is 4” wide x 4 3/4” Height
Sticky Note Covers – 21/8” wide by 1 11/16 height – make a fold over or score one and glue 5/8” to the back.
Pen Holder (optional) – 1/2” x the length slightly overlapping when wrapped around your pen size. Please Note that you can only fit a pen in the position it is in because there is space when folded, if you move the pen it will not allow the box to close, be mindful of this when creating your box design on the flat flap.
Handle (optional) – 1 1/4” wide by 8” long I folded length in half and lightly creased, then folded each edge into the middle fold, to avoid an obvious seam, it also means both sides of the handle are the same pattern and it is also strengthened. I scored 1/4” both ends and rounded the handle shape, then using a pokey tool pushed a starter hole in each end about 1/3” in from the edges, on the handle and on the box. I then used brads to hold handle in place. Handle size when finished: width 1/2” by 7 1/2”
All Patterned Paper Matt’s are 1/4” smaller on both sides than the actual size – Measure as needed. I layered all my patterned paper on the insides before I added any pockets, and also layered my pockets before attaching. Once together I glued in the Book and Sticky notes, I did all the outside layers last and attached the handle, before I attached the ribbon and embellishments.
I left open to dry overnight, then tucked the pocket items into their spaces.
Here is a great video to help you put this together, although my box is slightly different, the measurements and actual base sizes are the same.
Enjoy and Happy Crafting,
~Dee