So I finally decided to venture into trying HTV and I absolutely LOVE, LOVE, LOVE IT!!!!! I have been so scared to use my Cricut Maker on vinyl… lol
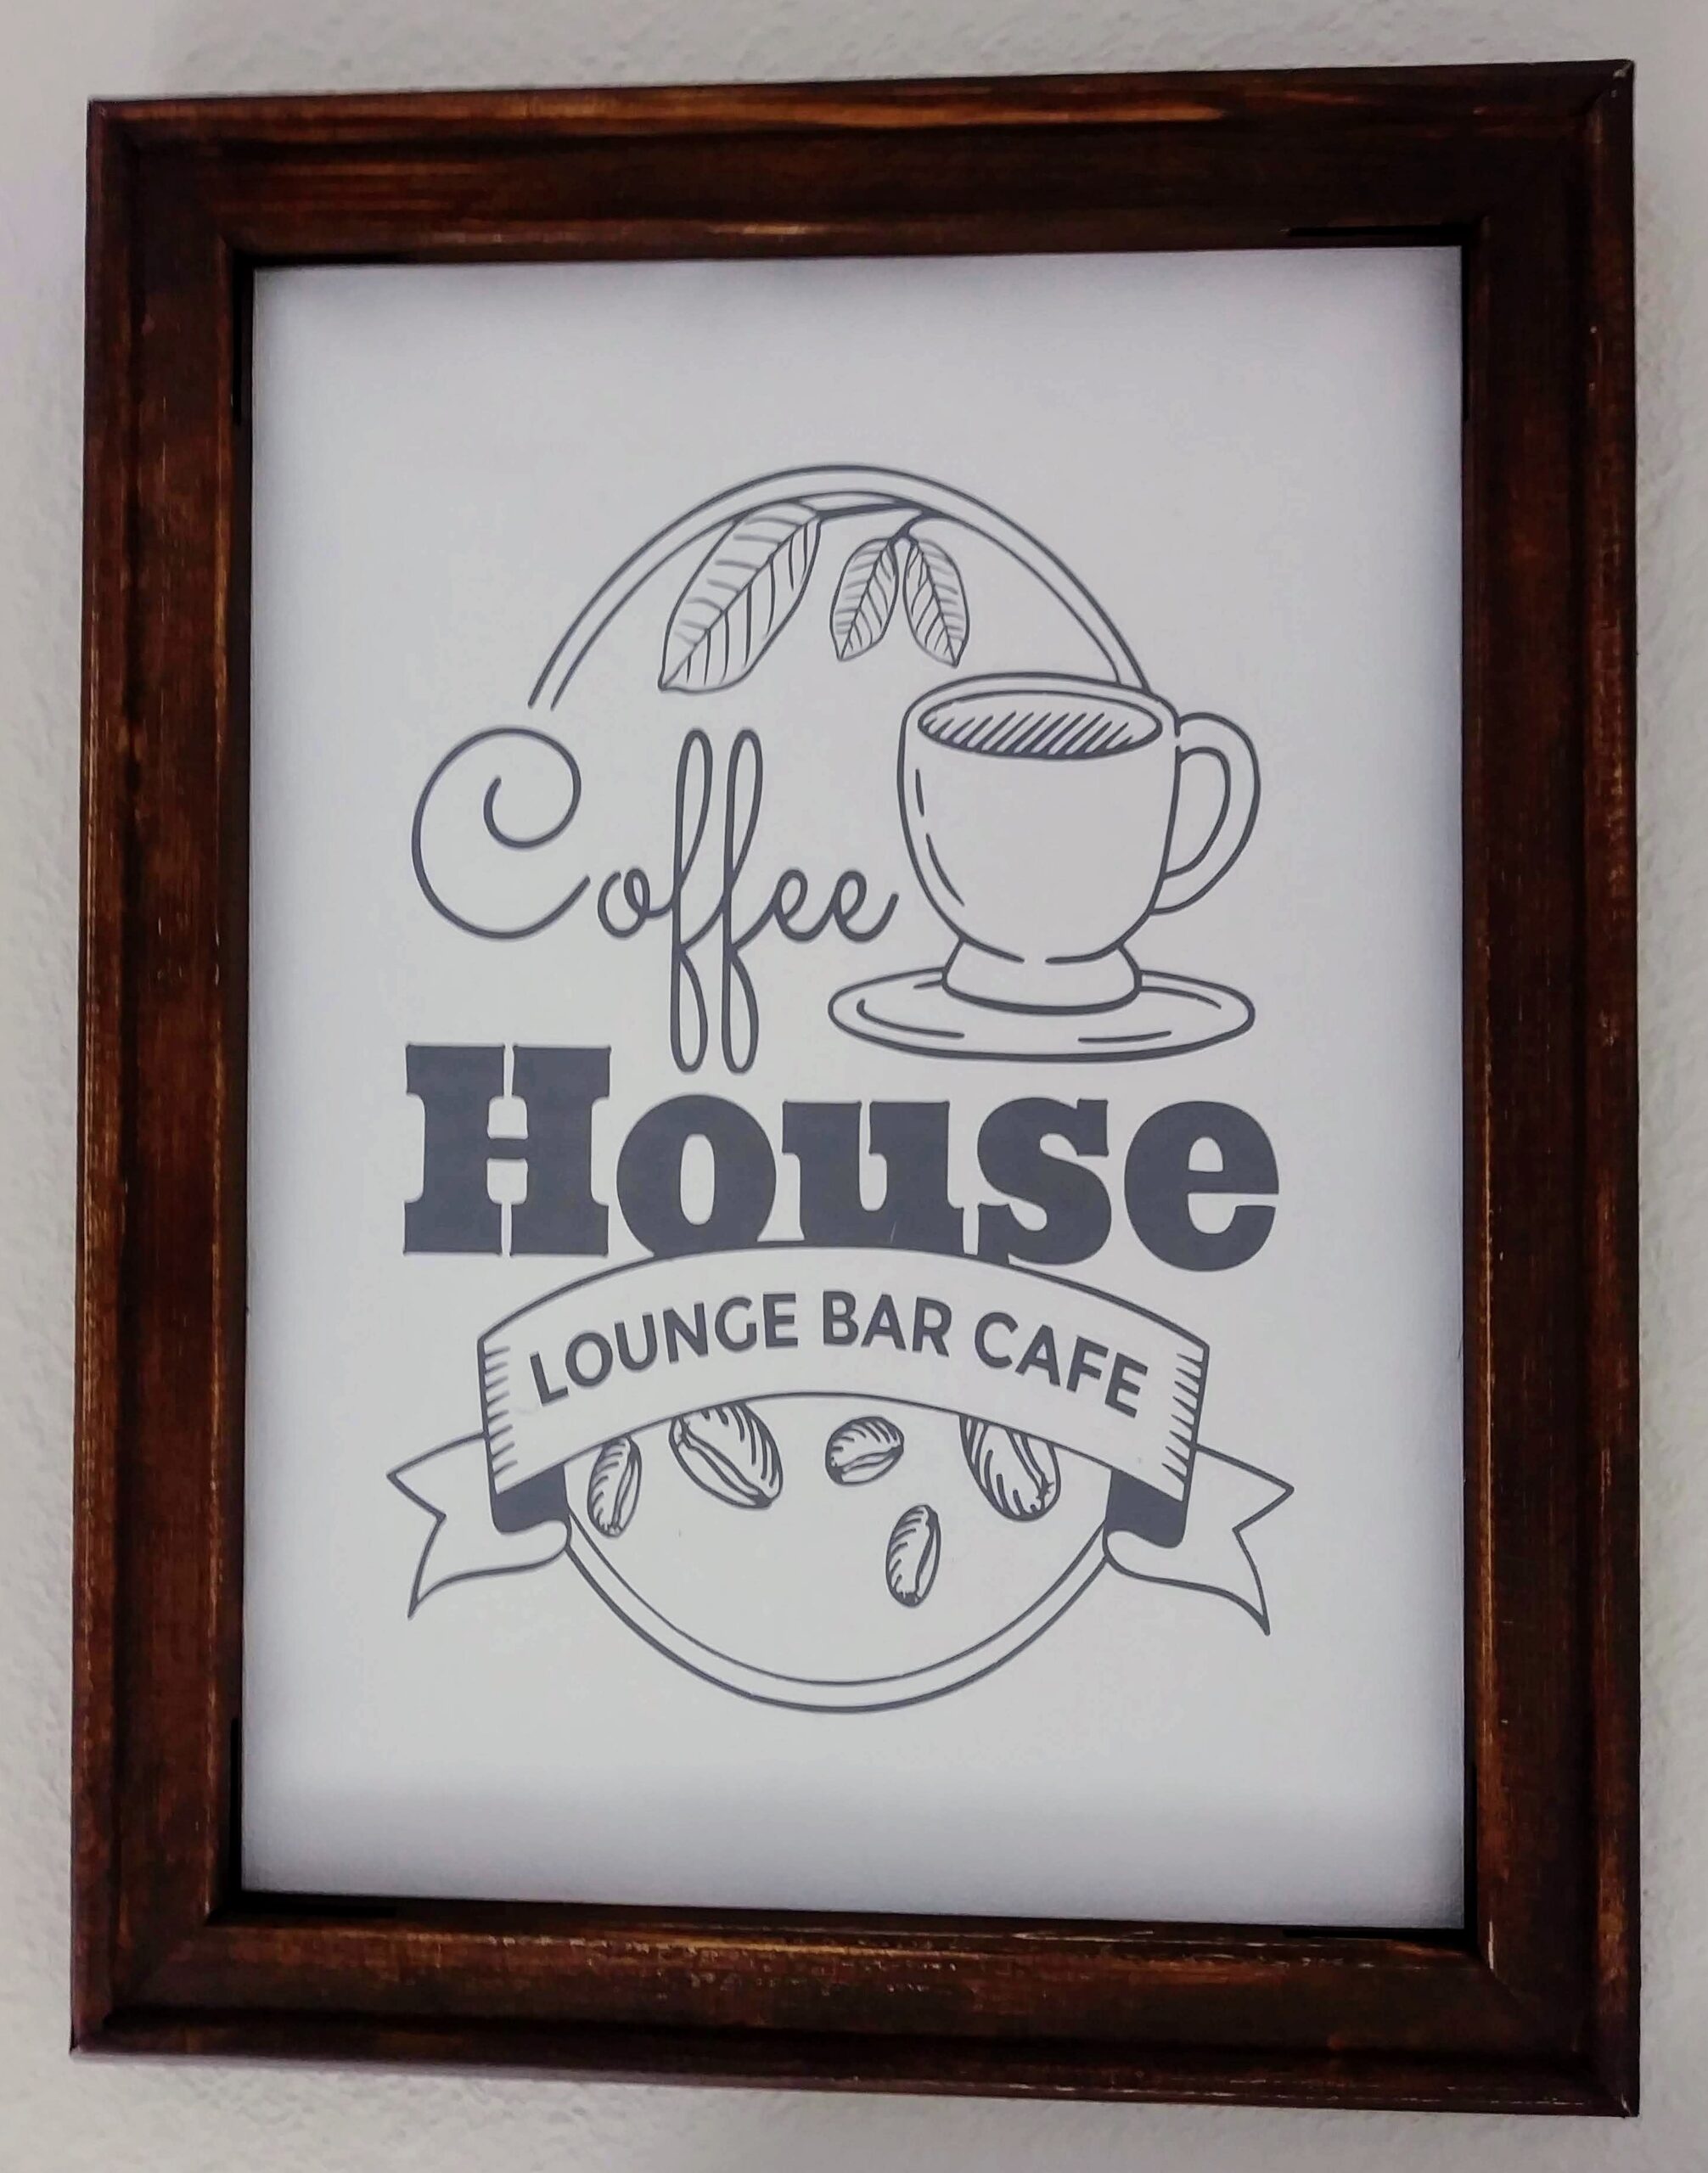
I’ve made 2 signs – you can see the Laundry one below. The coffee sign is more to my liking than the laundry one.
How I did It: For both of the signs I used 11 x 14 Canvas’s, cutting off the canvas with a rotary knife and I then ironed it flat and added the HTV of the Coffee SVG I had cut on my Cricut Maker.
I painted the frames before attaching the HTV to the canvas, I was actually lazy and never removed the staples, but they were in so flatly they were not an issue at all and were covered over by the canvas once I had hot glued it…
The coffee sign I painted with distressed antiquing medium in Nutmeg (by Folk Art), The Laundry sign frame is chalk paint in Sage (also by Folk Art). I then rubbed the frames with a dry cloth, to look somewhat used.
Once the frames were dry I reattached the canvas. I used hot glue to adhere the canvas back to the frame, by flipping it, so the canvas was now glued to the rear of the frame.
Jennifer Maker has a great tutorial on Reverse Canvas Signs, which is how I came across this fabulous inexpensive way to add great wall art to you home.
Thank you so much Jennifer. This has been by far my favorite project and I’m already planning on doing more.
Supplies:
2 x ( 11 x 14 ) Canvas (w) Frames (I purchased a pack of 7 for $9.99) from Hobby Lobby
Folk Art Antique Medium (Nutmeg) Folk Art Chalk Paint (Sage)
Small – Medium Sponge Paint Brush
Dry Cloth (old T-shirt material is great)
SVG’s: Cricut Access (Design Space)
Fonts From DAFONT.com
Hot Glue Gun & Glue Sticks
Coffee SVG is from Cricut Access/Design Space Laundry SVG I created using clothes pegs and flourish from Cricut Access Fonts I downloaded from DaFont.com.
Mistakes I made: I probably should have pulled out the staples, but ended up hot gluing some foam rectangles onto the corners at the rear of the frame to avoid scratching the walls. And I wasn’t happy with the lighter chalk color, dark worked so much better.

Originally Posted On my Old Blog March 2019